Studio update!
I’ve come to learn (and appreciate) that studios are a work in progress. It’s been nearly two years since we moved to our house in Port Townsend and we have been slowly making updates, especially as we’ve balanced work with looking after our now 2.5 year old daughter. Recently, we made a push on our studio, painting, rearranging our desks, building a new painting desk for me, and improving our lighting. Here’s a little tour!
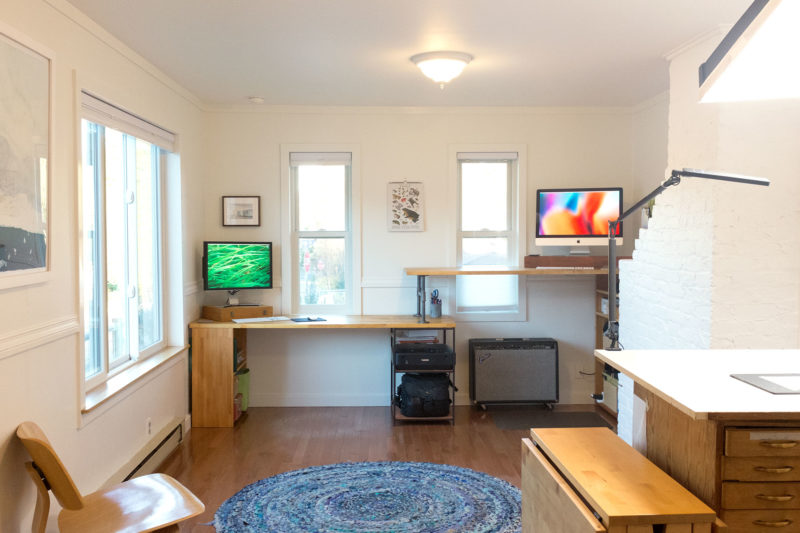
My husband Darin Reid and I are fortunate to have a large room (approximately 12′ x 22′) we use for our office/studio. At one end, we have a standing and sitting desk configuration that we’ve custom built using Ikea countertops and black steel pipe. For our standing desk (and my art desk), we use floor mats that make a big difference for comfort.
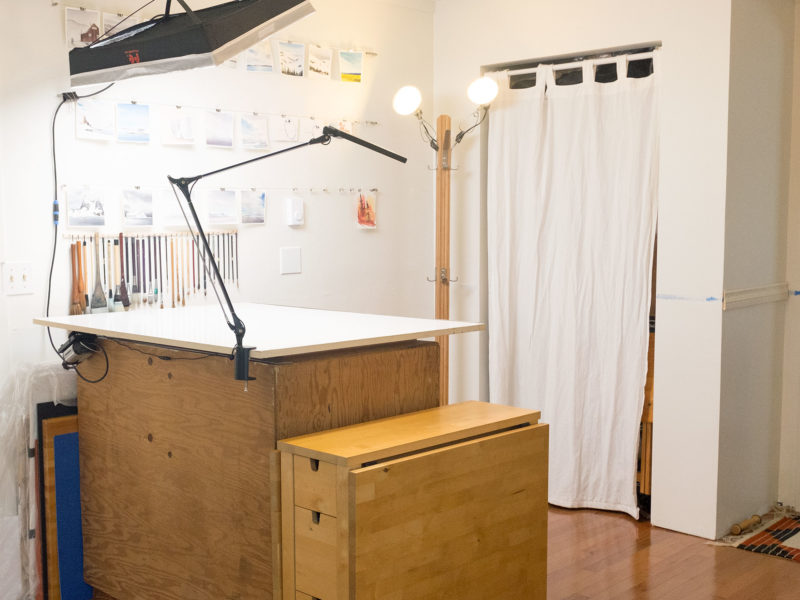
The other side of the room is dedicated to art projects. We built in a closet for storage, where I keep an 18″ x 36″ shelf of art supplies, as well as shelf stacked with framed paintings. For light, I recently acquired an amazing 18″ x 24″ flexible LED panel (Falcon Eyes RX-18T with a soft box) that I’ve mounted to the ceiling using a Manfrotto Magic Arm
. It’s like turning on the sun. Special thanks to Caleb Pike with dslrvideoshooter.com for his awesome light reviews and recommendations. I also have an LED architect swing arm lamp
which is a little stiff to move, but I appreciate the extra light. I lit up another corner with a couple of clip lights mounted to our old coat rack. Altogether, I have consistent light for painting night or day.
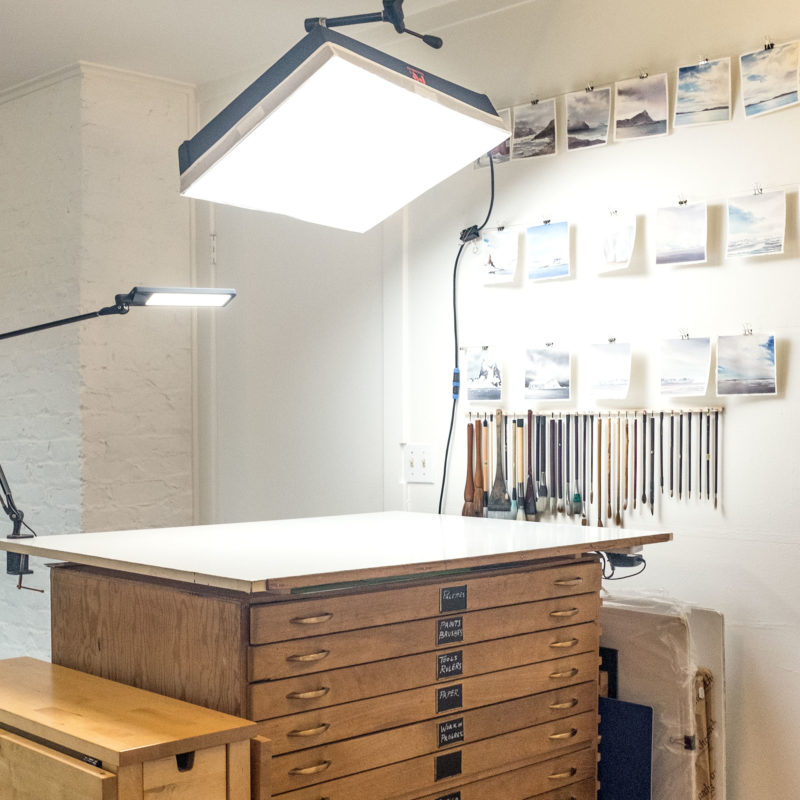
I’m also thrilled to finally have a flat file. It’s a huge oak piece (40″ wide x 36″ tall x 26″ deep) with 12 drawers that open smoothly. My father-in-law salvaged it from a Seattle marine architecture office that was closing shop, and was sweet enough to load it in his truck and deliver to me in Port Townsend. I love it, the drawers have absorbed so many of my supplies. I’m slowly organizing them and adding chalkboard paper labels. At some point, I’d like to build a full desk around the file, but for now have just placed the top of my vintage Ikea drafting table on it (I purchased the table on Craigslist 12 years ago). Next to it is my Ikea Norden gate leg table that I’ve also had for 12 years. It’s an attractive and versatile piece of furniture.
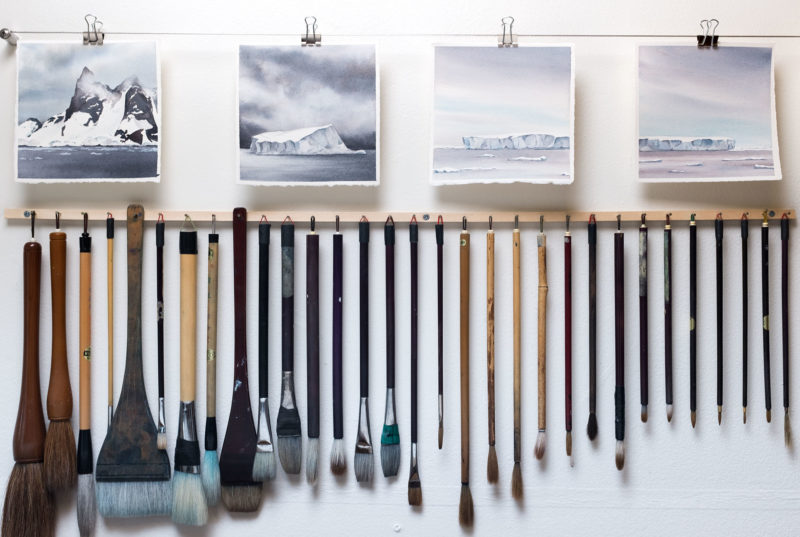
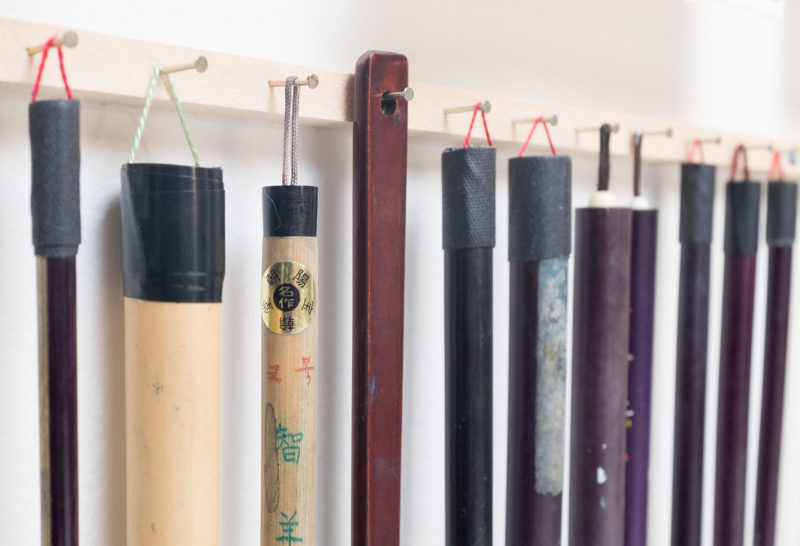
On the wall next to my desk are my hanging systems for brushes and paintings. It’s helpful to see my work in progress and have my tools accessible. My favorite brushes are handmade by a dear Japanese friend and mentor, Mr. Sakuma, whom I first met in Tokyo when I was 12 years old. Sakuma-san is a master brush-maker craftsman whose generosity and encouragement over the years inspired me to commit to art. I wrote in 2008 about my experiences with Sakuma-san, and his advice to create at least 10,000 pieces. To hang a collection of brushes, I mounted a small 3/8″ square dowel to the wall and hammered in small finishing nails, spaced 1″ apart. Some of my brushes have hangers, others I taped small loops on.
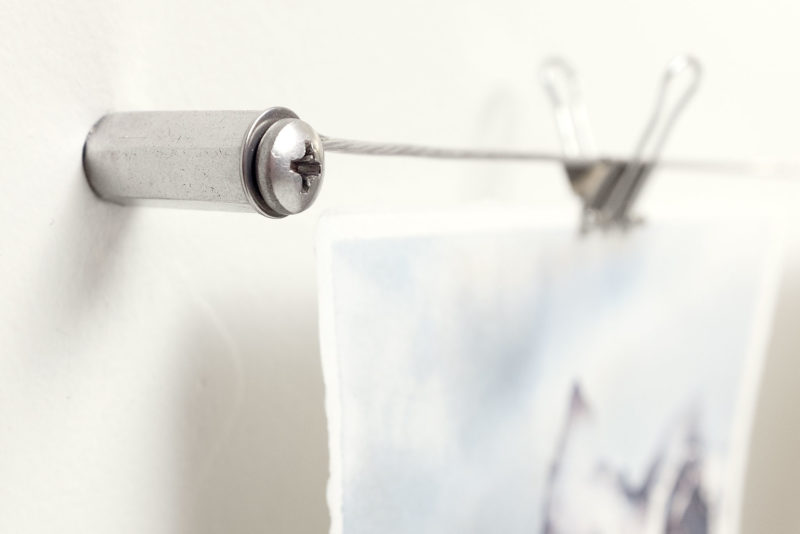
My hanging system for paintings is created with three rows of Supersoft Strand 20kg coated wire. I use this wire for my framed paintings, as it’s easy to work with and ages well). My husband found some beautiful 1″ spacers at the hardware store and screwed them into wall studs. The wires stay nice and taut, and I use silver 3/4″ binder clips
to attach my sketches.
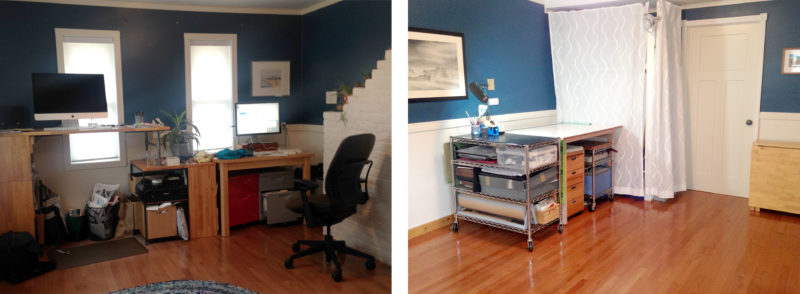
There are many more projects, big and small, from finishing molding to building more desks and shelves (there’s one wall I did not show you!), but it’s come a long way since we started. Here’s a look at where we began.
You can continue the studio tour through my archives if you’d like to see how my spaces have evolved over the years!
- 2011-2015, Seattle
- 2010-2011, Seattle
- 2009-2010, Twisp
- 2008-2009, Seattle
- 2006-2008, Seattle (what, oil paintings?)
The Amazon links in this post help support my art through their affiliate program.
13 Responses to “Studio update!”
Katy Gilmore
Hi Maria,
I think your refreshed space looks absolutely gorgeous! So inviting and so functional. I am in the process of dismantling my small studio of 12 years to move to even smaller space, so I loved seeing what you’ve done – inspiring. I’ve had the bad habit of using thumb tacks for works in progress (things finished, but needing to see, I don’t tack the paper, but do now have a wall full of tiny holes :( — so I thought your wire system genius! I am so curious how the beautiful silver clips stay in place on the wire, wonder if you would please tell me how that happens. — oh, I live in Port Townsend also – out Hastings, off Jacob Miller Road. I think your flat files are so beautiful. Thank you for any help with the clips – I could save my wall in the new space thanks to your photo. Your brush row is installation art! Katy Gilmore
Maria
Thank you, Katy! I just sandwich the binder clips over my sketches and the wire and they hold everything nicely. Good luck setting up your new studio!
Mary Jane Huth
I only saw 1 painting to buy? Help love your work show me more Please!
Mary Jane
Maria
I’ll be posting one each day through the end of April. I’ll send out an email reminder in a few weeks, too, when it’s stocked up more!
Kristin Johnsen
I’m totally in love with your wire hanging system!!!! Gives me some ideas that could work in my funky basement…just need to drill into some masonry instead of studs, but I fixed our basement sink today so feeling empowered and able to tackle another project. Excellent looking space with McGiver-like ideas – nicely done, you two!!!
Maria
Thank you, Kristin! You can make a hanging system, go for it! I agree with you about starting with small projects for building confidence. I like to ask myself, “how can I make this 5% better” (or even 1%!)… it’s much more accessible than some crazy overhaul and the little changes add up.
Elisabeth
Beautiful! And great ideas as I plan my own studio space.
Thank you for sharing.
Sandra
This post is as good of an organizing article as I could write. I love that you share your organizing systems with us and explain them in a DIY fashion. Your studio looks fantastic, by the way!
Maria
Thank you so much! It’s come a long way and I certainly make a mess of it… then clean it up again. I find clear spaces inspire me to work.
Deborah N.
Hi, Maria,
I just love your flat file drawer piece. What a Find!
And…Wow! Japanese/Chinese brush painting as well???
Tell me more.
Sincerely,
Deborah N.
Maria
Thank you! Yes, I feel lucky with my file, I was on the lookout for one for years! Yes, the majority of my brushes are hand-made Japanese. You can read some about my experiences in Japan in this blog post.
Marie Arsenault
Hi just to let you know last year I took a weak long workshop in Cervita Italy on urban sketching your tool kit worked great. So compact I take it on all my travels. This summer we are going to the east coast of Canada and later we are going way up north on a eco trip and of course I will be bringing tool kit with me. Marie
Maria
Hi Marie, I’m so happy to hear about your Toolkit experiences. I hope you have a wonderful trip this summer, I’d love to hear about your adventures when you return!