Casting Wedding Rings
Last week I was delighted to receive a package in the mail from my metalsmith friend Colin Kippen– our wedding rings are complete! Colin was thoughtful to photograph the process of casting the rings to share.
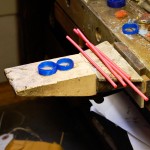
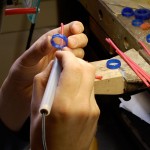
As I described earlier, Colin carved wax versions of the rings for me and Darin to consider. Once we settled on the final design, Colin prepared the wax models for casting in silver (our medium of choice- he’s happy to work with various metals). First, he used his wax pen to attach sprues (wax sticks) to the inside of each ring. The sprues will act as ducts for the molten metal to flow through to the ring molds later in the process. Once sprued up, the rings were attached to a rubber base which accepts the cylindrical steel flask in which the rings were cast.
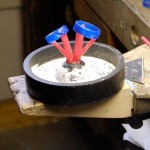
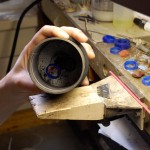
The steel flask was then filled up with a Plaster-of-Paris-like substance called investment which encased the wax completely. Once the investment cured (after an hour or so), Colin removed the rubber base and placed the flask in a kiln for a period of 5-8 hours. To burn the wax out of the investment, the temperature was first raised to about 300°F. The temperature was then slowly increased to about 1000°-1200° which cured the investment into a harder, more durable substance. After this, the temperature was brought back down to around 900° and held for an hour or so. Colin then used tongs to remove the hot flask from the kiln and placed it in the cradle of a centrifugal casting machine.
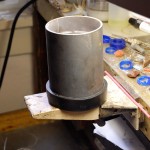
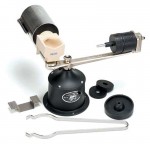
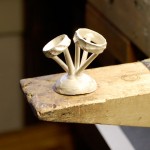
On the machine, the flask rested behind a cream-colored vessel called a crucible, which is where Colin melted bits of silver. Then he prepared the machine for spinning by rotating the arm counter-clockwise three times which wound up the black motor-like mechanism, and stored energy. While Colin heated up the silver into a molten state, he kept a pin raised out of the motor so it wouldn’t start spinning (just yet). Once the metal was completely fluid, he released the centrifuge and the molten silver from the crucible was forced into all of the holes in the investment that remained from the melting of the wax. After the metal cooled for a bit, Colin plunged the flask into cold water amidst hissing and steaming. The investment cracked off of the cast metal- compare the photo below to “sprued up” above!
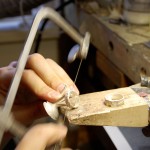
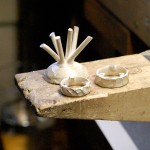
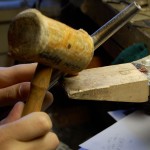
Colin sawed the sprues off the rings and began the finishing process. He used a rotary file to remove the sprue nubs and used a barrell sander to smooth the insides. The rings were placed on a steel ring mandrel and tapped with a raw-hide mallet to check that they were round and the right size.
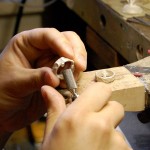
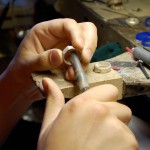
Next, Colin polished up the insides with a felt wheel and specialty polishing compounds. Compare the silver with the previous wax rings!
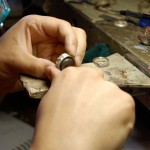
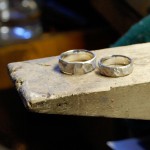
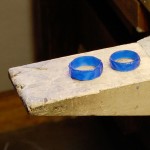
Finally, the rings were ready for a patina, a treatment to oxidize and darken the rings that Darin and I were excited about. The rings were later engraved- here are the completed rings!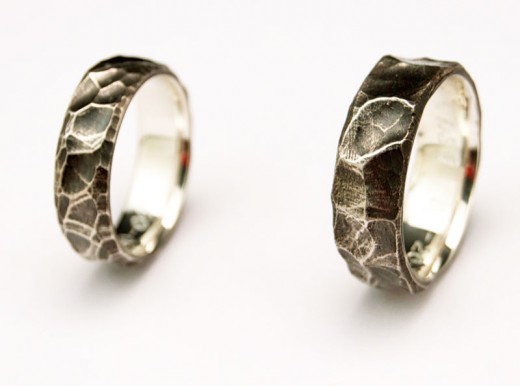
Thank you, Colin! Darin and I are delighted and look forward to wearing them after our wedding on September 20.
*Note: Colin is available for commission work if you’d like your own custom metalwork. Please visit his website to learn more.
2 Responses to “Casting Wedding Rings”
Kate Bedient
This is so fun to see!! We just got our rings yesterday and are so so so excited about them. I’ll send you a picture. Colin told us that our rings were cast out of the same silver as yours! I think that is pretty special. After we are all married, we should get together (in Twisp!) and toast our good fortune! ~Kate
pat bradford
I am having Colin do my wedding ring and having a local jeweler set diamonds and ensure fit etc (I live in Utah)…it should be something beefy, spectacular and different…can not wait to see the finished product. Very good guy to work with if you want something unique and out of the ordinary, and want to stay with natural textures…although I have not landed on metal type (will have to be a white metal and love the patina look, was going to go steel but my fiance may have me talked into white gold etc) I have some black diamonds to go in it, and the shape/texture worked out…can’t wait! I will be posting pictures on line when it is finished…